
How to Heat Press DTF Transfers

While focusing on getting a high-quality print is really important, focusing on correctly transferring those designs into your garments is as important as other steps during DTF printing, following detailed pressing instructions is the key to maintain the vibrancy and avoid any non-wished peeling after the transfer process. These instructions will be the key to succeed in your DTF printing experience!
Equipment and Materials
In this blog we will assume the DTF Transfers are already printed, if you have not completed this step, please refer to our blog post on where to buy DTF transfers or how to print DTF transfers. The following materials and equipment will be needed in order to complete the whole process:
DTF Prints
As mentioned before, we will assume the DTF transfers are already printed which consist of DTF film with a design printed on it.
Fabric
DTF transfers can be applied on various materials, we will go over the most popular but if you do not see the material you will be transferring to, please refer to our blog post on how to apply DTF transfers on different materials for more specific information on any different material.
Heat Press Machine
A heat press machine is required in order to heat press your designs onto your garments, you can check pressing machines and find the one that can suit your needs! Keep in mind that there are a lot of brands and types of machines, this is why we will always suggest reading the characteristics of each of them as some of them will give you a cheaper cost but less durability or on the contrary, higher cost but better results.
There are a lot of heat press machines that can suit your goals; however, it will all depend on the budget and personal traits of the goals you are looking for. It is always best to first state your budget before investing in any equipment, you can guide yourself on our blog post on how to open your small business.
Teflon Sheets
In order to press the film onto the garments you will need a Teflon sheet if you wish to get a gloss result, or in the case that you need a matte result, you will use a parchment paper.
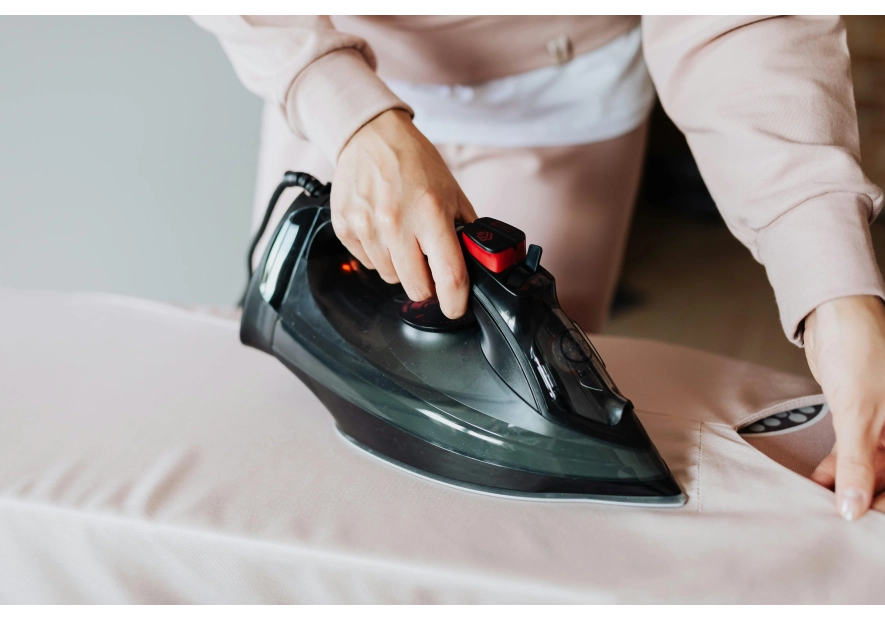
The Pressing Process
First of all, the fabric that the DTF transfer will be put on needs to be flat, we suggest pre-pressing the garment before and let the garment completely cool off before the transfer process.
A flat surface will ensure the transfer will be pressed optimally, make sure there are no wrinkles or any other non-flat surfaces to avoid the transfer getting broken or damaged.
Centering the Design
Once your design is cut, you should center it in the garment you will be transferring to, you can use some guiding and measuring tools to help you center it.
Pressing the Design
Once the design is properly centered or in the position desired the next step is the actual pressing, here is where depending on the material you will be pressing on, the pressing time and temperature will vary.
Keep in mind that using a Teflon sheet will give you a vibrant transfer, using a parchment paper will give you a matte result. The sheet that you use for transferring the design will be the one used for repressing after the peel.
Step-by-Step Guide to Pressing DTF Transfers
Now that you have a clear understanding of the DTF transfer process, let's dive into the step-by-step guide on how to press DTF transfers. Follow these instructions carefully to ensure optimal results:
1. Preheat your heat press machine to the recommended temperature range.
2. Place the DTF transfer onto the garment, ensuring it is centered and properly aligned.
3. Close the heat press and press for 10 seconds at the recommended pressure.
4. After the initial press, allow the transfer to cool down completely. This cooling process is crucial for the ink to bond with the fabric.
5. Once the transfer has cooled down, open the heat press and peel off the carrier film slowly.
Place a Teflon sheet if you wish a gloss result or a Parchment paper if you wish a matte result on top of the transfer and repress for an additional 10 seconds to ensure proper ink adhesion.
| COTTON | |
| TEMPERATURE | 280-320 Fahrenheit degrees |
| PRESSING TIME | 10-15 seconds |
| PRESSURE | 60 psi |
| POLYESTER | |
| TEMPERATURE | 266-270 Fahrenheit degrees |
| PRESSING TIME | 8-10 seconds |
| PRESSURE | 60 psi |
Once the design is pressed onto the garment, you have to keep in mind that our transfers are cold peel, this means you should wait until the design is cooled down and gentle to the touch, after the design is cooled down, gently remove the film. Then, repress with the Teflon sheet or parchment paper for another 10 seconds.
Always TEST before you do a big job, test how the colors come out, test the results of the transfer, and test your transferring techniques, this will lead you to get a good job and deliver quality products.
Tips
Here are some tips that might be helpful to you:
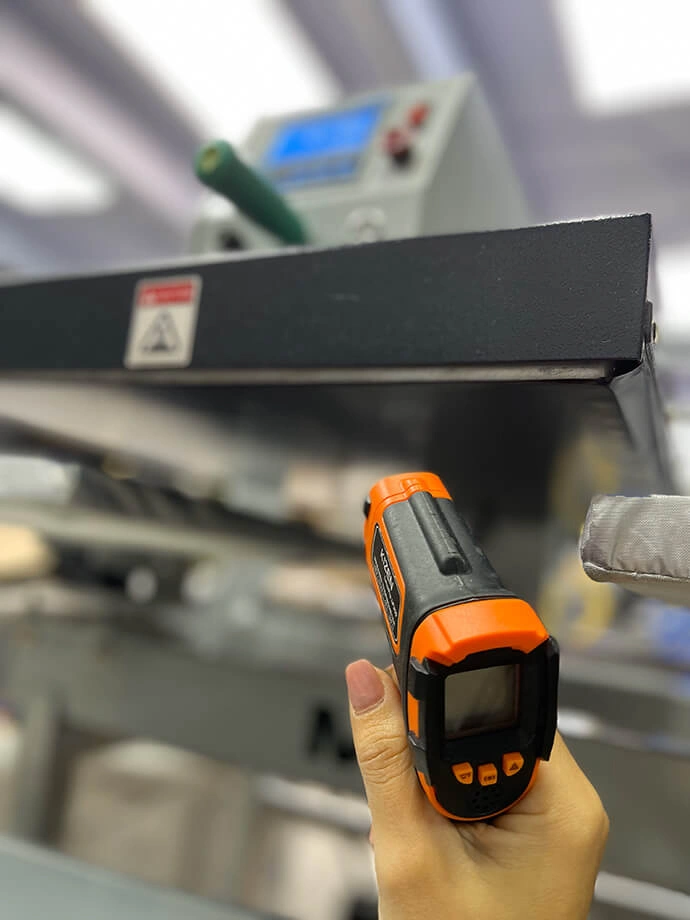
- You can check the temperature of your press machine with a heat gun, make sure to point it to every corner to make sure all of the press machine surfaces are at the correct temperature.
- You can use some measuring tools to make sure the design is properly aligned.
- If you feel your surface is not completely flat, you can use a pressing pillow and apply from medium to heavy pressure so that you ensure your surface is flat and ready to press, make sure there are no zippers, seams or buttons in the surface pressing area.
- There is another way to check pressure is correct, it is called The Paper or Dollar bill test, which among other things, help you calibrate your heat press machine.
- We strongly suggest letting it completely cure for 24-28 before washing or folding, this will prevent your transfer from breaking or peeling.
To finish this section, as you can see, DTF pressing instructions are relatively easy, do not worry if you do not get the best result on your first try, practice is the key and you will eventually perfect your technique! Also, you will eventually get more expertise and you will become experienced enough to help people open their own business. And if you are having trouble pressing your designs, you can always contact us and we will try our best to help you solve those issues. So, what are you waiting for? Now that you know how to press DTF transfers, it is time to work together! Let DTF Transfers Now be your partner in this amazing journey, check out all of our products, we will be happy to work with you!
Leave a comment