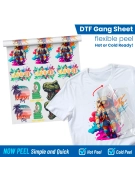
How To apply DTF Transfers To Different Materials

Direct-to-Film (DTF) transfer is an exciting and innovative printing method that allows you to create vibrant and detailed designs on various materials. Unlike traditional heat transfer methods, DTF transfers involve the use of special films, inks, and heat presses to produce stunning prints. In this blog, we'll delve into the step-by-step process of applying DTF transfers to different materials, including cotton, spandex, denim, canvas, and nylon. Let's explore this fascinating technique and unlock the potential for personalized and professional-quality prints on any fabric!
Understanding DTF Transfers:
DTF transfers involve the use of specialized films that adhere to the printing surface through a heat press. The films are embedded with inks or pigments that transfer directly onto the material, resulting in vivid and long-lasting designs. This technique is versatile and can be applied to a wide range of fabrics, making it a popular choice for custom apparel, accessories, and promotional items.
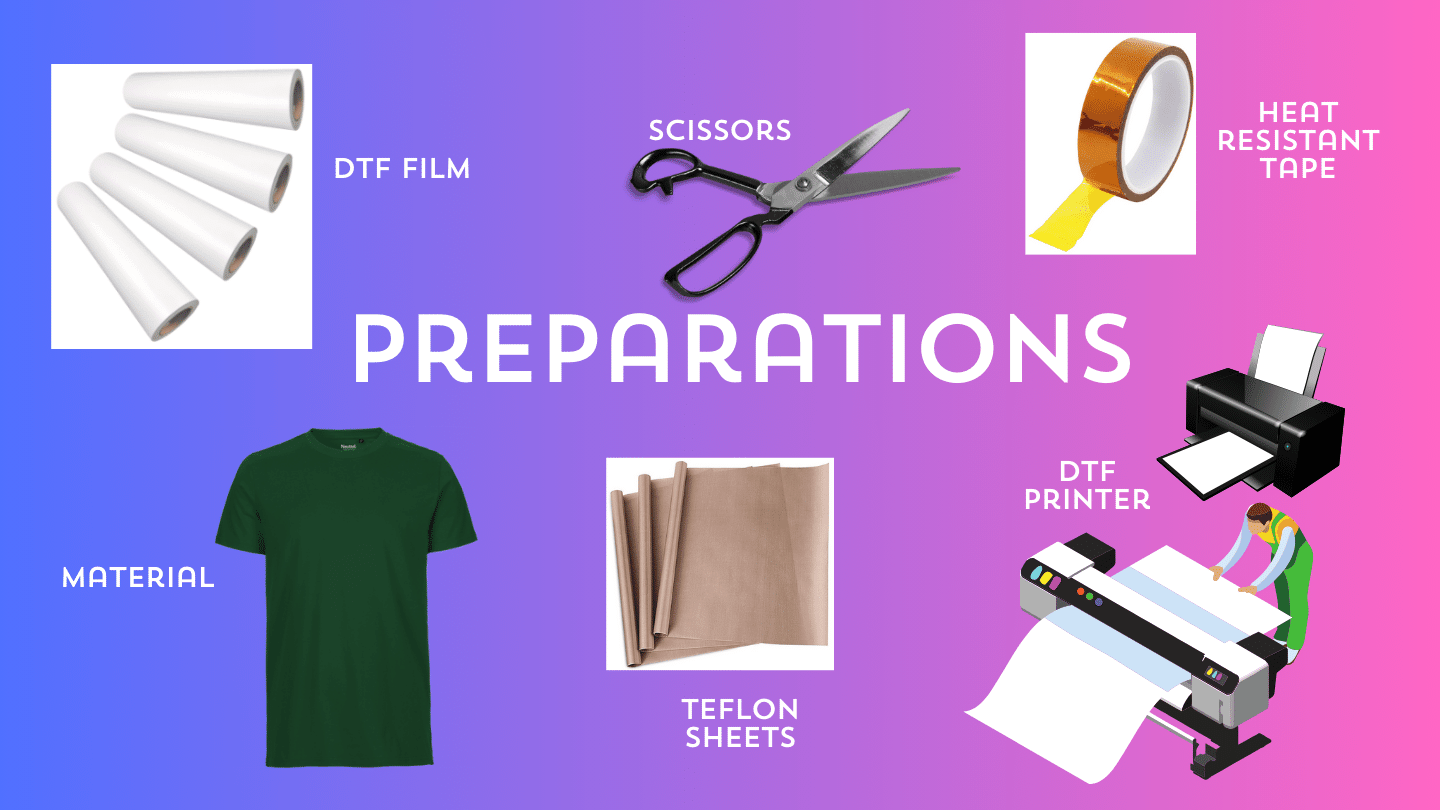
Preparation:
Before diving into the transfer process, ensure that you have the following tools and materials ready:
DTF printer and film
Heat press machine
Appropriate material (cotton, spandex, denim, canvas, or nylon)
Teflon or silicone sheets
Heat-resistant tape
Scissors
DTF Transfer Process:
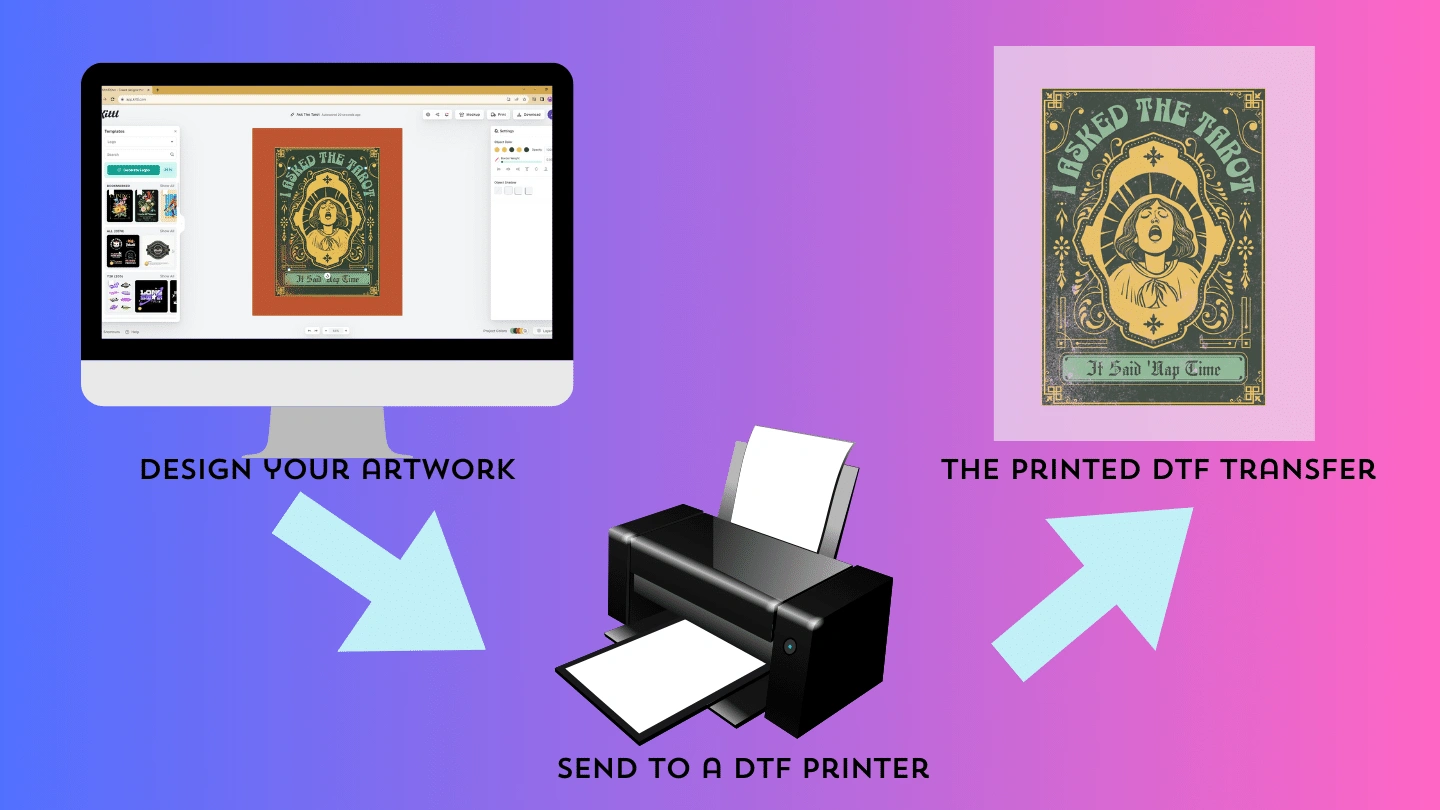
Step 1: Designing and Printing
Start by designing your artwork using graphic design software. Ensure that the design is sized correctly to fit the area of the material you want to print on. Once your design is ready, print it on the DTF film using a DTF printer. Remember to mirror the design before printing, as this is crucial for proper orientation during the transfer.
Step 2: Preparing the Material
Before applying the transfer, prepare the material by ensuring it is clean and free of any dust or debris. It's also essential to pre-press the fabric briefly to remove any moisture and wrinkles, which helps in achieving a smooth and even transfer.
Step 3: Applying the Transfer
a. Cotton:
Set the heat press to the recommended temperature for DTF transfers on cotton (usually around 280°F to 300°F ).
Place the DTF film face down on the material, aligning the design correctly.
Cover the film with a Teflon or silicone sheet to protect the design and the heat press.
Press the material with firm and even pressure for about 10 seconds.
Wait for Transfers to completely cool and then peel.
Press another 10 seconds after cooling
b. Spandex:
Spandex can be sensitive to heat, so use a lower temperature setting (we recommend to run a test first, 260°F to 270°F on your heat press.)
Press the material with firm and even pressure for about 10 seconds.
Wait for Transfers to completely cool and then peel.
Press another 10 seconds after cooling
c. Denim:
Denim is a thick fabric, so increase the pressure and set the heat press to a slightly higher temperature (we recommend to run a test first, around 300°F to 325°F)
Apply the transfer for 10-15 Seconds
Wait for Transfers to completely cool and then peel.
Press another 10 seconds after cooling

d. Canvas:
Canvas is a sturdy material so increase the pressure and set the heat press to a slightly higher temperature (we recommend to run a test first, around 300°F to 325°F)
Apply the transfer for 10-15 Seconds
Wait for Transfers to completely cool and then peel.
Press another 10 seconds after cooling
e. Nylon:
Nylon can be more delicate, so use a lower temperature (around 260°F to 270°F)
It's essential to use a silicone sheet instead of Teflon, as Teflon may stick to nylon.
Apply the transfer for 10-15 Seconds
Wait for Transfers to completely cool and then peel.
Press another 10 seconds after cooling
Post-Transfer Care:
After applying the DTF transfer, allow the material to cool down completely before handling. For long-lasting prints, avoid washing the material for at least 24 hours. When washing, use cold or warm water and turn the fabric inside out. Avoid using harsh detergents or bleach to preserve the print's quality.
Conclusion:
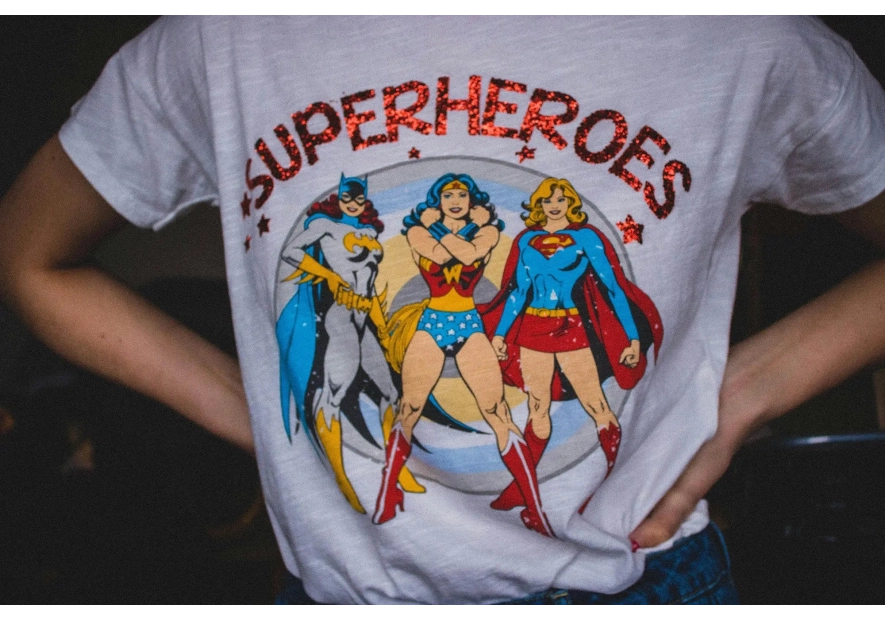
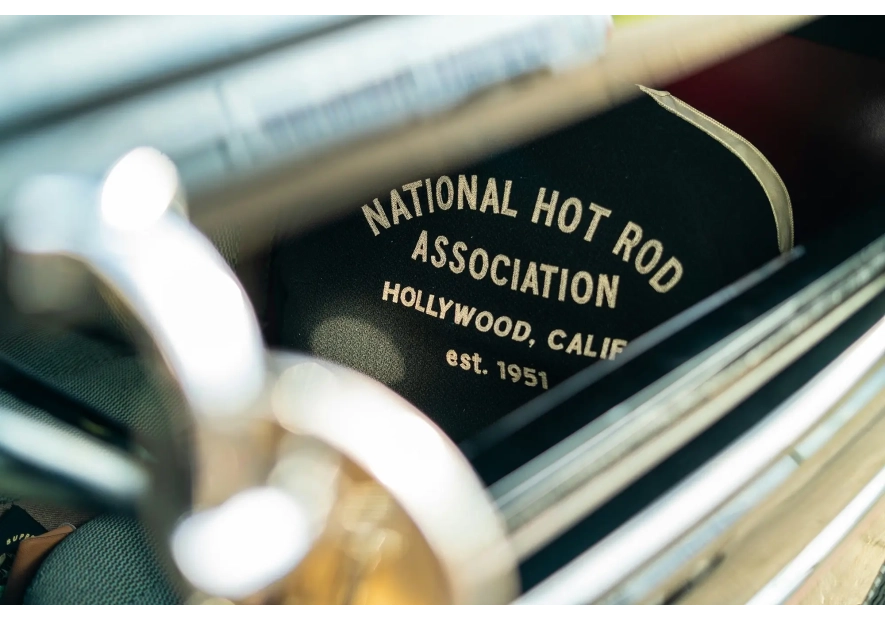
With DTF transfers, you can elevate your creativity and add a personalized touch to various materials like cotton, spandex, denim, canvas, and nylon. This guide has equipped you with the necessary knowledge and steps to apply DTF transfers effectively. Experiment with different fabrics, designs, and colors to unleash the full potential of this printing technique. Whether you're creating custom clothing, promotional items, or unique accessories, DTF transfers are sure to impress with their vibrant, durable, and eye-catching results!
Note: Its important to note that dtf transfers are meant to be used on flat, smooth surfaces with no texture. If you do apply a dtf transfer to a surface with texture, the transfer will receive that texture and may feel rough.
The pressure that DTF Transfers now Recommends is between 40-60 PSI.
Leave a comment