Instrucciones para Aplicar tus Transferencias DTF
INSTRUCCIONES GENERALES PARA APLICAR TUS TRANSFERENCIAS DTF
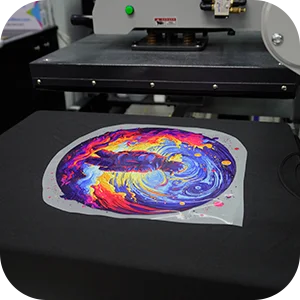
Asegúrese de que su prenda o superficie esté limpia, seca y libre de arrugas o residuos. Puede preprensar las prendas para asegurar este paso.
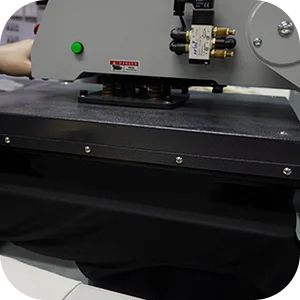
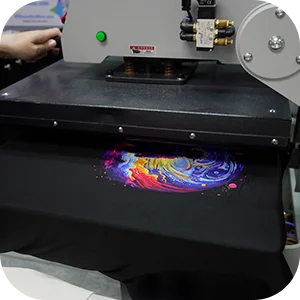
Configure la prensa de calor a 300 grados Fahrenheit.
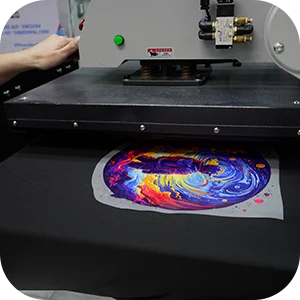
Presione durante 10 segundos ejerciendo presión alta (60 PSI). La presión es uno de los factores más importantes para adherir correctamente sus transferencias a su prenda. Asegúerese de que la presión es adecuada, si no lo es, su transferencia no se va a adherir correctamente. Si su prensa no logra la presión adecuada, puede apoyarse de una almohada de presión.
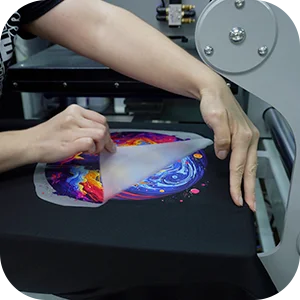
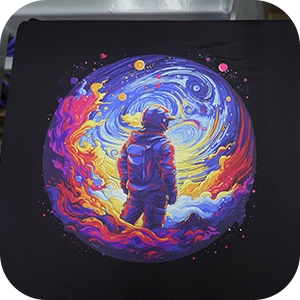
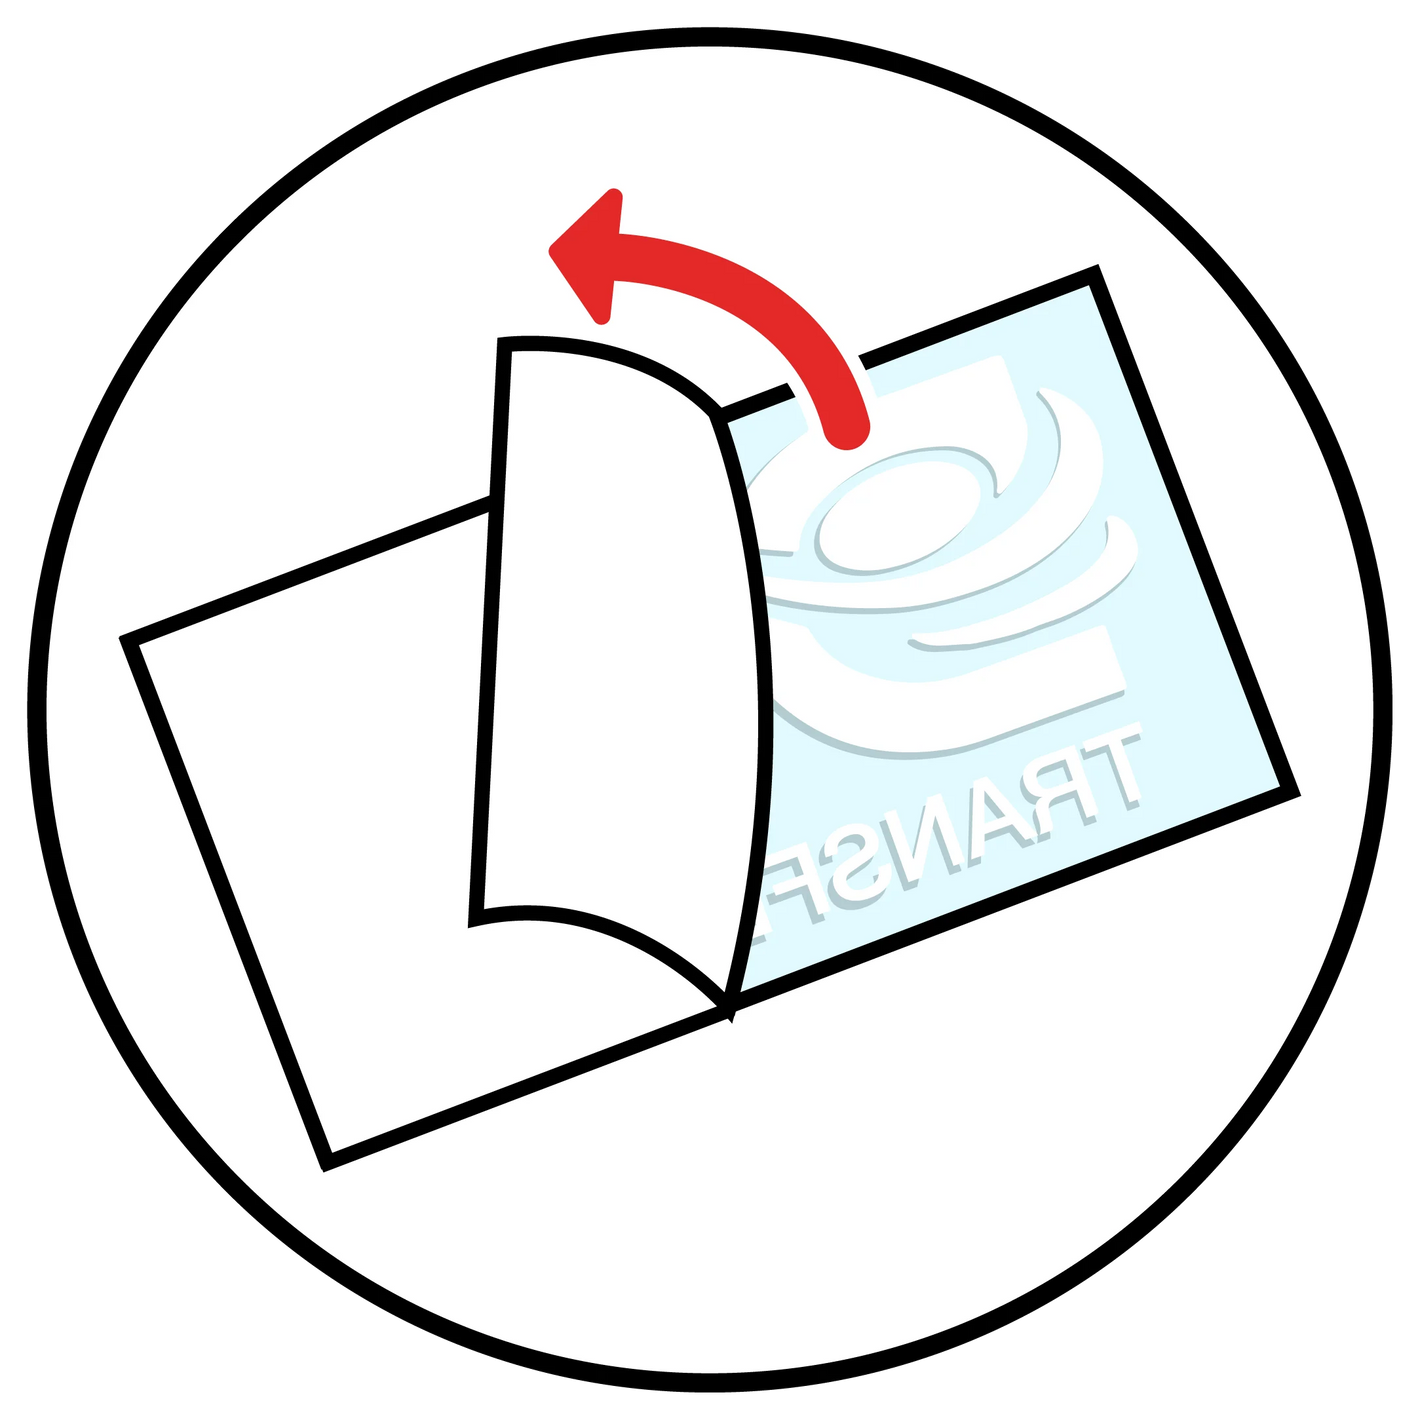
Deje que la prenda se enfríe completamente. Una vez enfriada, retire cuidadosamente la película de transferencia comenzando por una esquina.
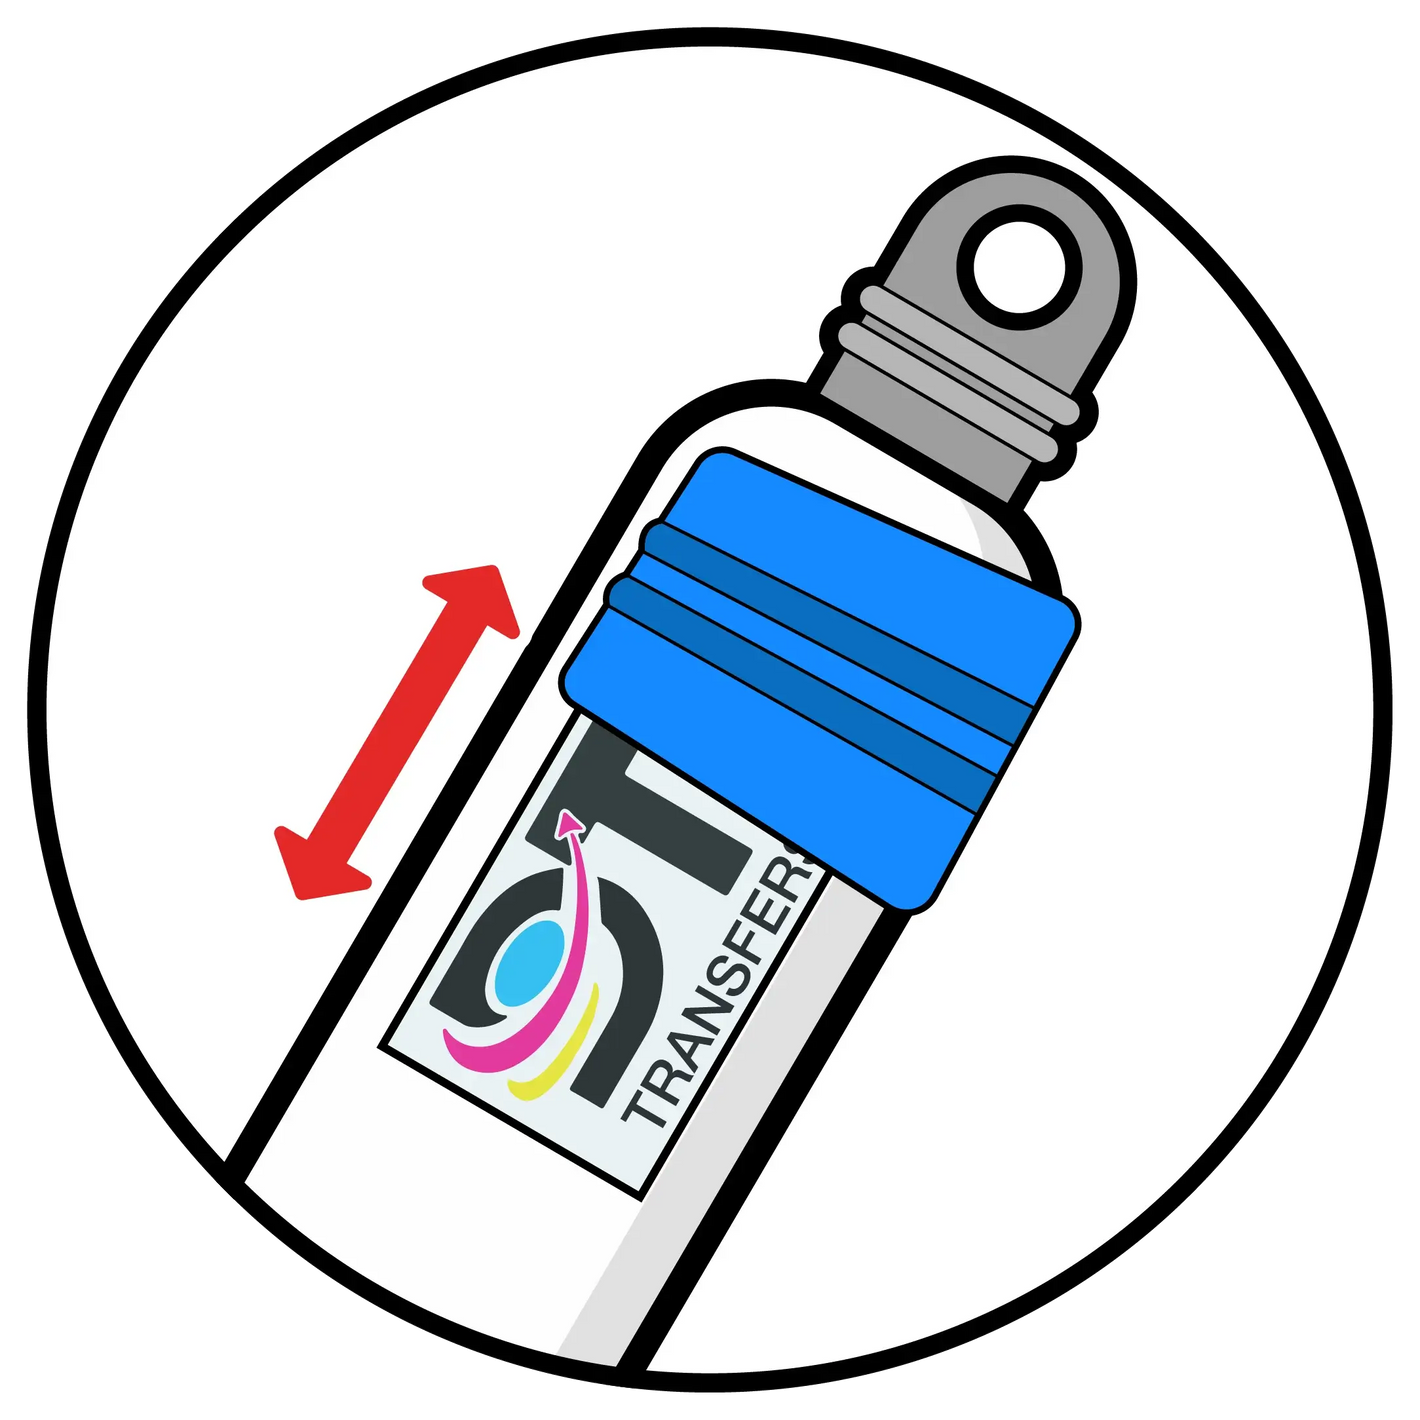
Vuelva a prensar durante otros 10 segundos para sellar su diseño con una hoja de teflón encima como protección. Si desea un resultado mate, haga este paso pero usando una hoja de papel pergamino.
La segunda prensada sella su diseño.
En DTF Transfers Now, sabemos que aplicará transferencias DTF en diferentes materiales, por favor consulte nuestras publicaciones en el blog para obtener más información sobre cómo prensar transferencias DTF.
POR FAVOR REVISE NUESTRO TUTORIAL EN VIDEO
DTF Pressing Instructions – Your Step-by-Step Guide to Flawless Transfers
Wondering how to apply DTF transfers the right way? You’re in the perfect place. This complete DTF transfer application guide will walk you through each step to help you achieve vibrant, sharp, and long-lasting prints that hold up wash after wash.
Our easy-to-follow DTF pressing instructions are built for consistency—whether you're customizing T-shirts, hoodies, tote bags, or performance gear. With the right heat, pressure, and technique, you’ll turn your designs into professional-quality results your customers will love.
| DTF Heat Press Settings – Quick Reference | ||||
|---|---|---|---|---|
| Transfer Type | Temperature | Time | Pressure | Peel Type |
| Custom DTF Gang Sheets | 300°F (149°C) | 10 - 12 sec | Medium-Heavy | Flexible Peel |
| DTF Transfers by Size | 300°F (149°C) | 10 - 12 sec | Medium-Heavy | Flexible Peel |
| DTF Neck Labels | 300°F (149°C) | 10 - 12 sec | Medium-Heavy | Hot Peel |
| Cold Peel DTF Transfer | 300°F (149°C) | 10 - 12 sec | Medium–Heavy | Cold Peel |
| Hot Peel DTF Transfer | 300°F (149°C) | 10 - 12 sec | Medium–Heavy | Hot Peel |
| Neon DTF Transfer | 300°F (149°C) | 10 - 12 sec | Medium–Heavy | Flexible Peel |
| Glitter DTF Transfer | 310°F (154°C) | 10 - 15 sec | Medium–Heavy | Cold Peel |
| 9 Colors ORGB DTF Transfers | 300°F (149°C) | 10 - 12 sec | Medium-Heavy | Cold Peel |
| Glow in the Dark Transfers | 300°F (149°C) | 10 - 12 sec | Medium-Heavy | Cold Peel |
Custom DTF Gang Sheets
Temperature: 300°F (149°C)
Time: 10 - 12 sec
Pressure: Medium-Heavy
Peel Type: Flexible Peel
DTF Transfers by Size
Temperature: 300°F (149°C)
Time: 10 - 12 sec
Pressure: Medium-Heavy
Peel Type: Flexible Peel
DTF Neck Labels
Temperature: 300°F (149°C)
Time: 10 - 12 sec
Pressure: Medium-Heavy
Peel Type: Hot Peel
Cold Peel DTF Transfer
Temperature: 300°F (149°C)
Time: 10 - 12 sec
Pressure: Medium–Heavy
Peel Type: Cold Peel
Hot Peel DTF Transfer
Temperature: 300°F (149°C)
Time: 10 - 12 sec
Pressure: Medium–Heavy
Peel Type: Hot Peel
Neon DTF Transfer
Temperature: 300°F (149°C)
Time: 10 - 12 sec
Pressure: Medium–Heavy
Peel Type: Flexible Peel
Glitter DTF Transfer
Temperature: 310°F (154°C)
Time: 10 - 15 sec
Pressure: Medium–Heavy
Peel Type: Cold Peel
9 Colors ORGB DTF Transfers
Temperature: 300°F (149°C)
Time: 10 - 12 sec
Pressure: Medium-Heavy
Peel Type: Cold Peel
Glow in the Dark Transfers
Temperature: 300°F (149°C)
Time: 10 - 12 sec
Pressure: Medium-Heavy
Peel Type: Cold Peel
⚠️ Important Notes
- Nylon Fabrics: Apply at 260-265°F (127-129°C) for 6-8 seconds.
- First Wash: Wait at least 24 hours after application before the first wash.
- Do not apply these heat press designs to sublimated jerseys. Prevents dye migration and print issues.
- Challenging Materials: Not recommended on fabrics with coatings (silicone, water-resistant, certain nylon blends) or highly textured/elastic fabrics.
Step-by-Step DTF Pressing Instructions
🔴 Flexible Peel: You can peel hot or cold, if your design has fine details, we recommend letting the sheet cool completely before peeling.
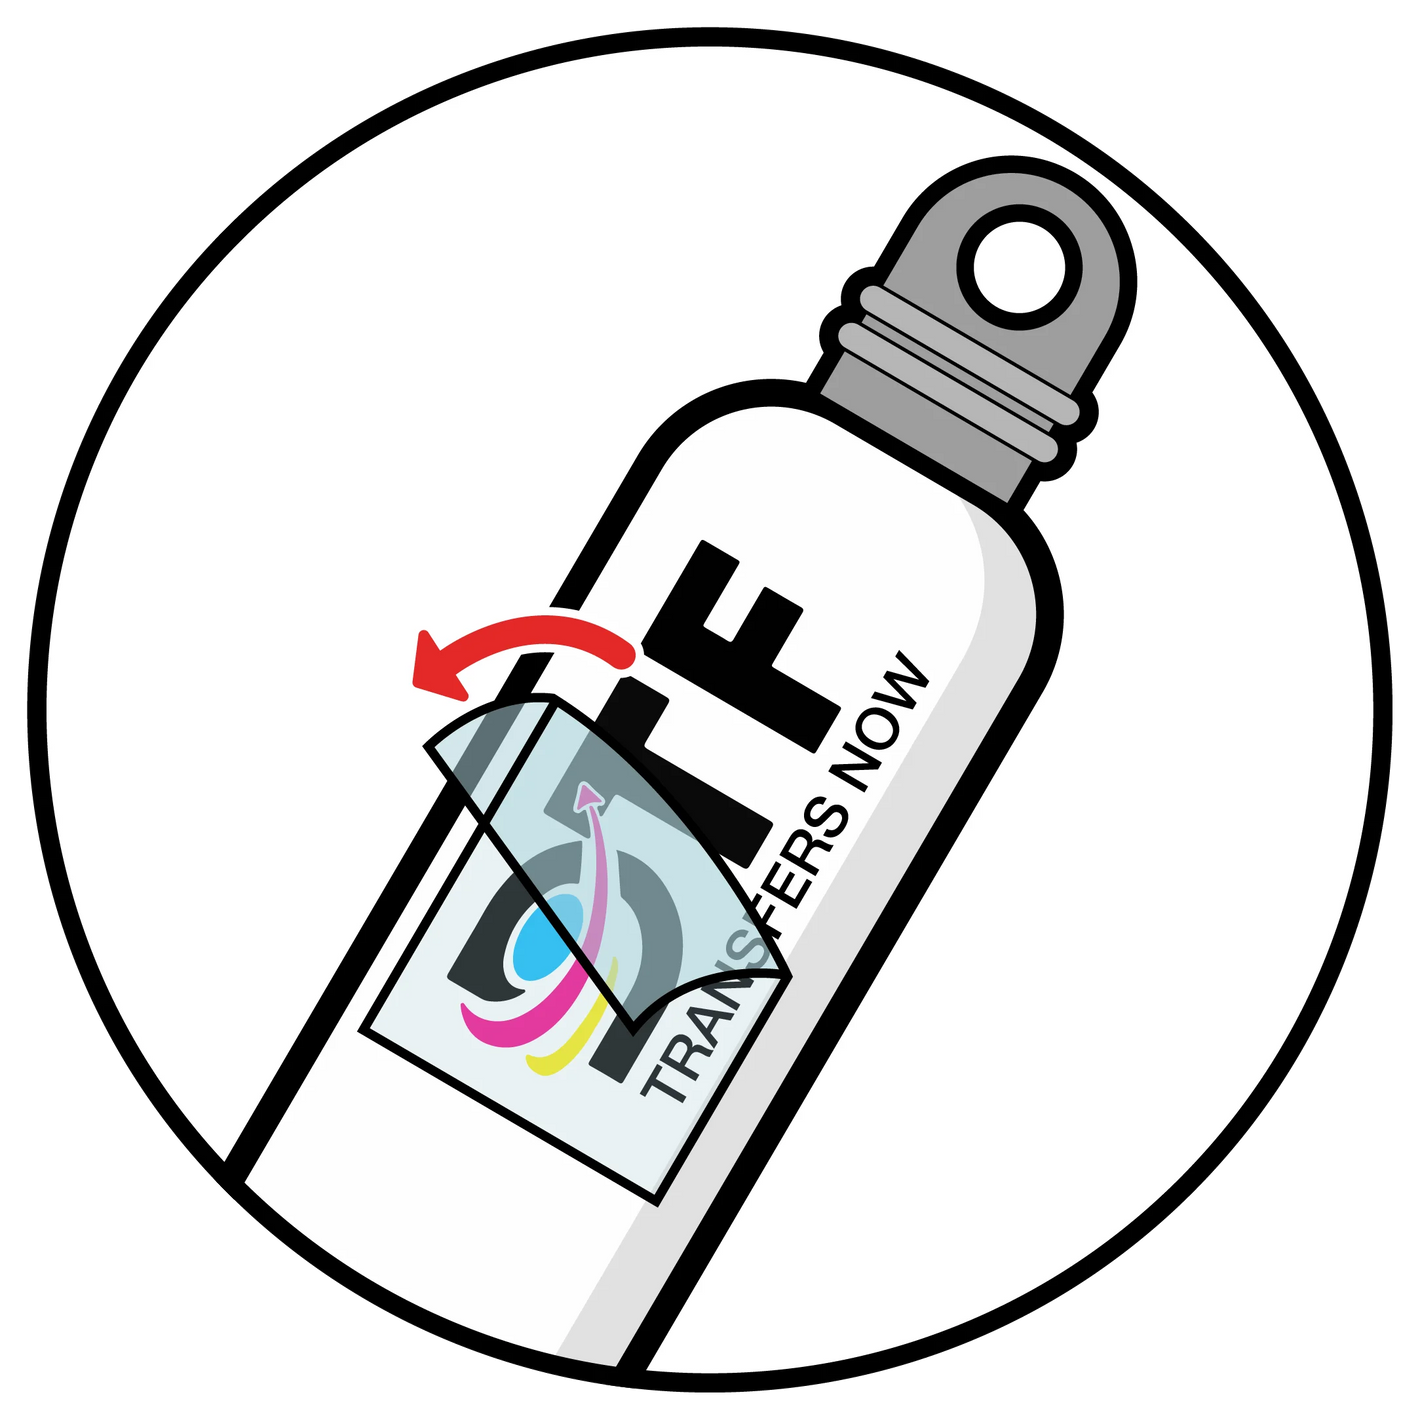
How to Apply Your UV DTF Stickers
DTF Aftercare Tips – Keep Your Prints Looking Fresh
Right care makes all the difference. Here’s how to help your transfers last:
-
Tips for Consistent, Pro-Quality Results
- Use a quality heat press—not a household iron.
- Pre-press. It’s quick and makes a big difference, don’t skip it.
- Double check your temp, pressure, and peel time.
- Store transfers flat in a cool dry area away from direct sunlight.
Need More Transfers? We’ve Got You Covered
DTF Pressing Instructions You Can Rely On
The starting point for any amazing print is a clean press. With these DTF pressing instructions, you will get the bold and vibrant results your designs need and value. Keep this guide next to your heat press, thank me later.
Let’s press something amazing together. I’d be happy to create a mobile, printable version, or even add visuals for those that prefer seeing first before all else.
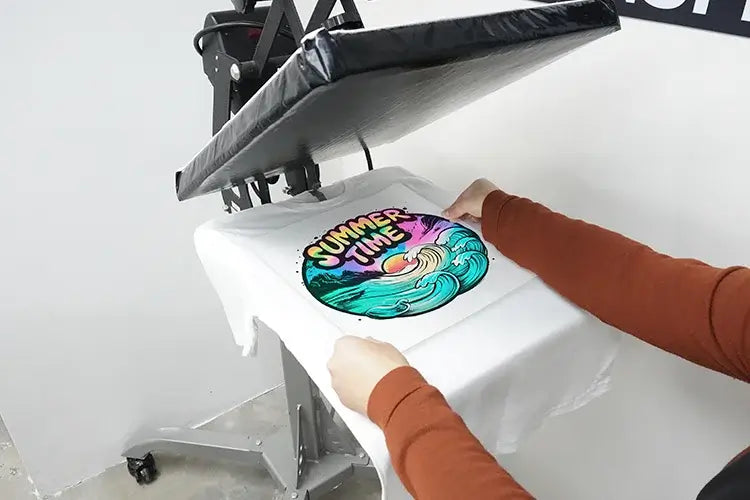
GENERAL DTF TRANSFERS PRESSING INSTRUCTIONS
Ensure your garment or surface is clean, dry, and free from any wrinkles or debris. Pre-press garments to release moisture.
- Set the Heat Press: to 300°F.
- Press for 10 seconds with high pressure (60 PSI).
- Let the garment completely cool down before peeling the film.
- Repress another 10 seconds with a Teflon sheet for extra durability.
For more info visit our blog posts on pressing DTF Transfers.
Questions? Let’s Talk.
Whatever it is regarding—pressing issues, order questions, or file setup—we're here to help.

